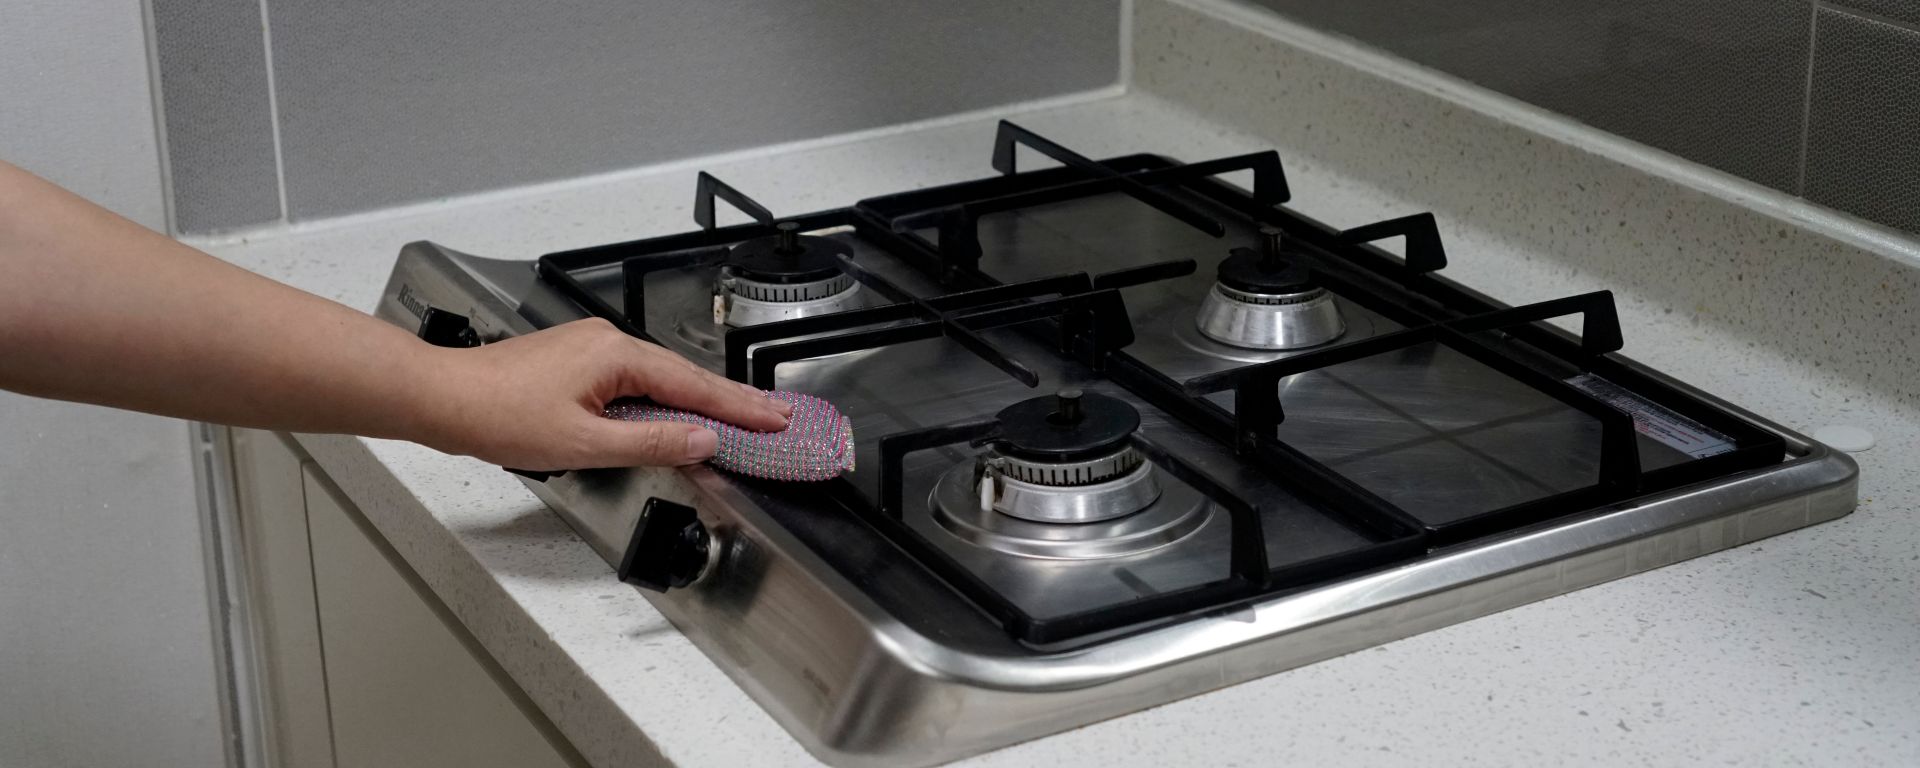
Gas stoves are the preferred choice for many chefs and homeowners as the flames create heat very quickly, so there isn’t much of a waiting time before your pan is ready for cooking. However, after a day or so of cooking, your stovetop may look unpleasant with burnt food splatters and greasy residue. It’s important not to neglect your gas stove. The precision and control that gas stoves allow may diminish as the gas ports clog with food particles. These methods will help bring your gas burners back to life.
How Often Should You Clean A Gas Stovetop
You should clean your gas stove according to how often you use the stove and how much grease and food particles get spilt. A good way to remember that it’s time to clean the stovetop is if the flame starts to work irregularly or is yellow. Deep cleaning once a month is enough, however, regular maintenance like wiping spills will help to keep cleaning the gas stovetop to a minimum.
The method explained here uses white vinegar and baking soda, these two household items work incredibly well together as natural cleaning agents. The vinegar breaks down the grease, and the baking soda acts as a mild scrubbing agent to remove food particles and residue.
What You Will Need:
- White vinegar
- Water
- A Spray bottle
- Baking soda
- Scrub brush or an old toothbrush
- A Shallow pan
Cleaning The Grates
- Turn the stove off and let the burners cool entirely. Remove the grates, the burner caps, and heads. Set all of the items next to each other.
- Then, fill the sink halfway with white vinegar and the rest with water. First place the grates into the mixture until completely covered and let them soak for 15 to 30 minutes.
- After 15 to 30 minutes, remove the grates from the sink and rinse them. Then, create a paste by mixing baking soda with a small amount of water, and coat the grates with the paste. Leave them to sit for 15 to 30 minutes.
- Once the time has passed, use a scrubbing pad or toothbrush to remove any burnt residue, before rinsing them thoroughly and leaving them to dry while you clean the other parts of the stovetop.
Degrease The Stove Top
- While the grates are soaking, degrease your stove top. Pour a mixture of equal parts vinegar and water into a spray bottle.
- Spritz the stovetop and give it a few minutes to work on greasy residue. Scrub with a soft scrubbing pad before using a paper towel to wipe out all of the grime. You can repeat this step as many times as necessary or until your paper towels start coming back clean, without any grease or grit.
- For areas that have cooked-on residue where the sponge just isn’t strong enough to remove these bits, try scrubbing with a medium stiff nylon scrubbing pad or an old toothbrush. It’s a good idea to test the scrub in a small area on the stove to make sure it’s not scratching the surface.
- Once the entire surface is cleared, use some clean paper towels to wipe off any excess liquid until the stove top is completely dry.
- If you have a glass cleaner, you may want to use it to give the stovetop a final wipe down. This removes excess residue so a cloudy film won’t be left on the stovetop.
Cleaning The Burner Heads And Caps
- Spray the burner heads and caps with the same mixture of water and vinegar in the spray bottle. Make sure they’re well coated.
- Allow them to sit for 15 to 20 minutes.
- Mix baking soda and a small amount of water again to make a paste. Apply a thin layer to the burner heads and caps and allow them to sit for another 15 to 30 minutes.
- Use a toothbrush or scrubbing pad to remove cooked-on food residue.
- Before reassembling, check the tiny holes where the gas comes through to make sure they’re not clogged. If they are, poke the holes with a needle or paper clip.
Once all the parts of your gas stove have been cleaned, rest them on a clean towel to dry completely before reassembling the stovetop.
To reassemble the stovetop, start with placing the clean burners back on. Each burner is specifically designed to fit in its particular location, so even if you have forgotten where they go you will still be able to put them back in their original places. The grates can simply be placed on the stovetop as they were. Now that the stovetop is clean, you can switch the main switch back on and your stovetop is ready for cooking. Add cleaning your stovetop to your regular routine when learning how to clean a kitchen, that way it won’t sit with dirt and grime for too long. If your oven is as greasy as your stovetop, learn how to clean an oven so that both are taken care of.


